Git(Hub)
Git is one of the most trendy Distributed Versioning Control System (DVCS) especially in the context of open source projects. GitHub and BitBucket are very popular hosting services on the cloud.
GitHub splash screen
Overview
It is important to clearly distinguish right from the beginning Git and GitHub. Git is a general tool for versioning like SVN. GitHub is a hosting service based on Git and also a particular tool (the GitHub client) that can be installed on your machine.
Git
Git is a toolkit that can be used in a totally standalone mode, that is locally on any kind of machine (e.g. a laptop running windows/linux/mac). This is essentially a set of commands that you can run in a shell.
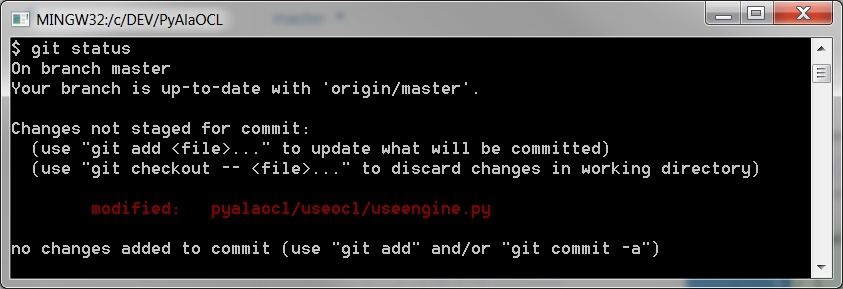
A shell with a typical git command git status
Git can be used both locally by a single developer but also locally and on the web in a collaborative mode.
- git for local usage.
One interesting aspect of Git is that it is file-based repository: installing it do not necessitate to install any kind of server, database; no daemon process is required, etc. Using git locally is therefore cheap and easy. It will just create a
.gitdirectory in your project directory and that’s all. Full stop. Git can be useful really useful when working alone. This provides you some revision control for instance.
- git for collaborative usage.
Obviously if the goal is to collaborate with others one need a git server. In this case the local copy of Git installed on your machine will serve as a client. You can setup a git server (if you are in a company) or reuse existing services from the cloud.
The next section is about git on the cloud.
GitHub or/and BitBucket
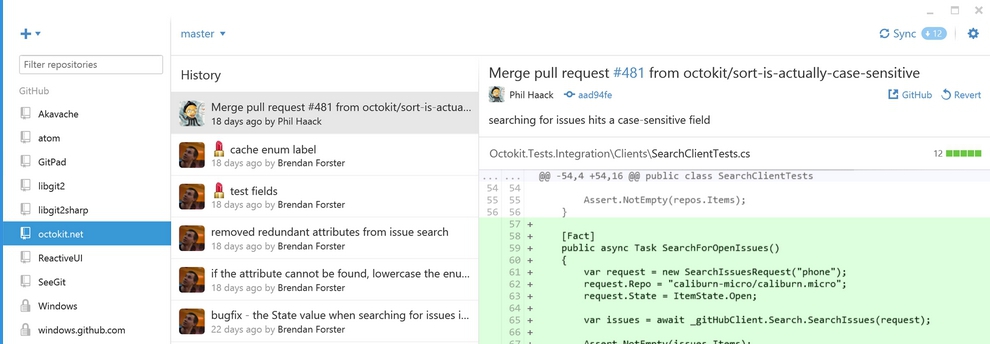
If you need to collaborate with others to develop an open source project, GitHub or BitBucket are obvious solutions to consider, at least if you plan to use Git. They both provide hosting public git repositories for free. GitHub and BitBucket have web-based interfaces to explore repositories.
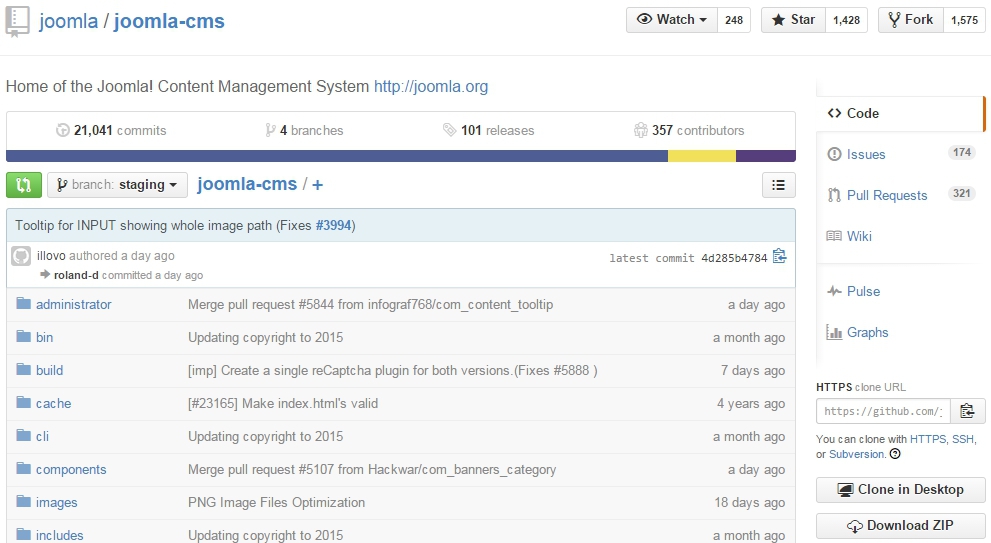
A git repository as shown on github
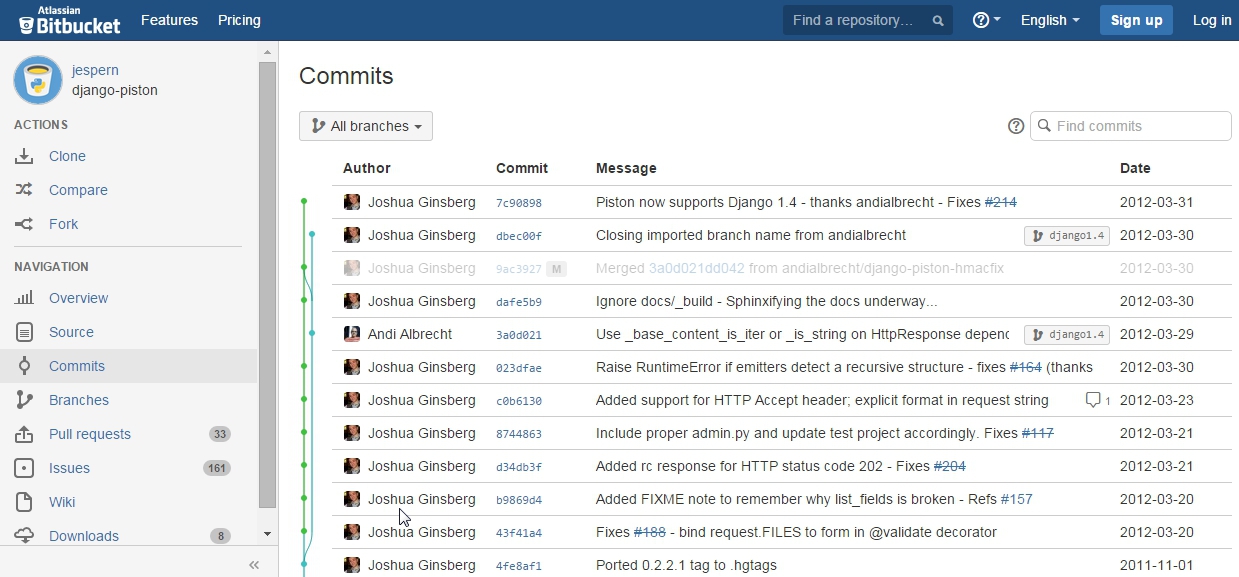
A git repository as shown on BitBucket
We highly recommend to use GitHub, unless if you need private repository. If you want you can have a look at the article bitbucket vs. github or to have a look at a more general comparison of hosting services.
Here we will use GitHub since:
- this is the most popular service,
- it provides an excellent git client which is amazingly easy to use.
If you need to have a private repository, and want to have that for free, then you have to use BitBucket for that repository. By contrast to Github (which offer only public repository), BitBucket provide unlimited private repositories (will a limit of 5 collaborators including you). The good news is that tools work with any provider so the solution is most probably: all public repositories on GitHub, all private repositories on BitBucket.
Installation
In this section you will learn how to:
- create a github account.
- install the github client for your machine.
- install a true ‘git’ toolkit (only if you need it).
Creating a GitHub account
Extremely simple. Just go to https://github.com/join and fill the various fields. In step 2 select a free plan. Basically this is it.
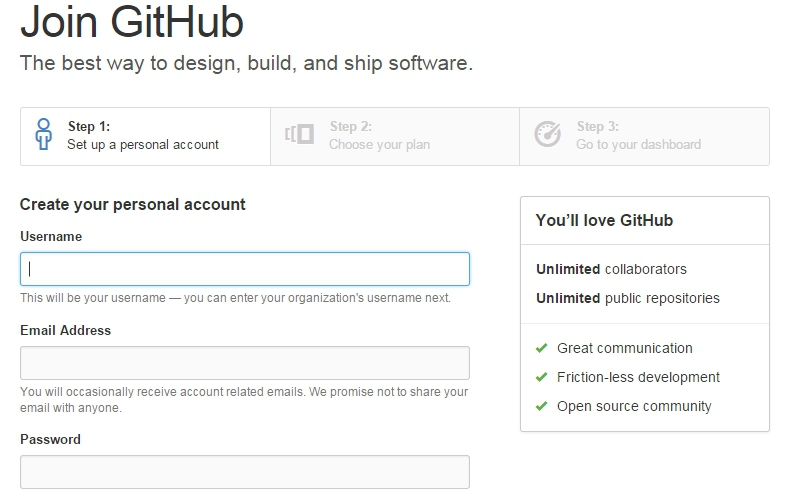
Joining GitHub - step 1
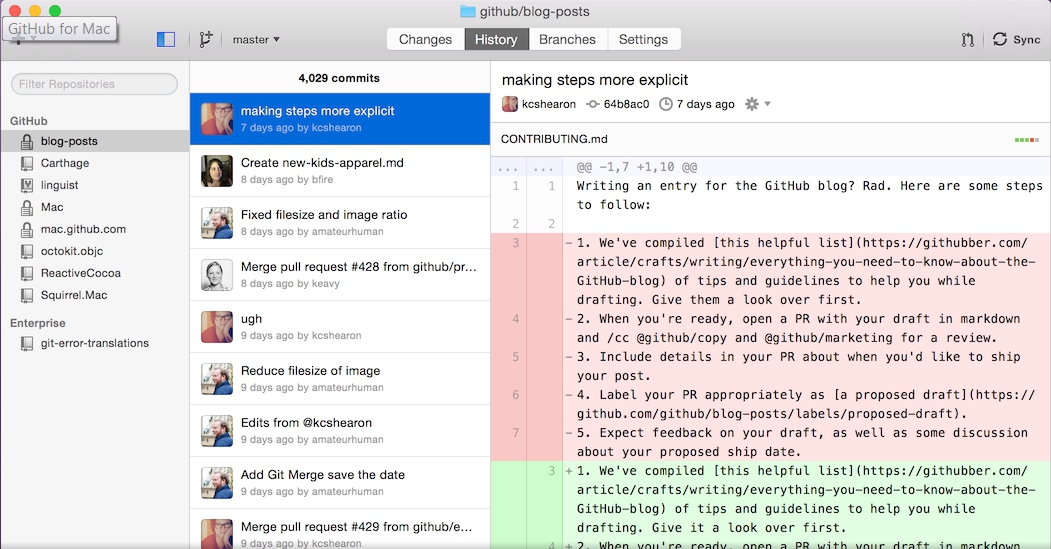
Installing the GitHub client
At the time of writing this documentation, nice github clients exist only for Windows and for Mac. This step is anyway not obligatory. It install a nice graphical user interface for using git. This interface is extremely cool, but if you really want to use only shell commands and have already a git toolkit installed then you can skip this. If you are on linux you can go to the next section.
Installation is really simple:
for Windows just visit https://windows.github.com/ (windows installer web).
for Mac just visit https://mac.github.com/ .
Installing the BitBucket client
The github client is really easy to use. However if you want to learn more about git and want to do some advanced things without the shell, the github client is not the best choice. In fact, it hides some commands behind some cool features like ‘Sync’. You might prefer another client, for instance the one proposed on BitBucket. This git client is called SourceTree.
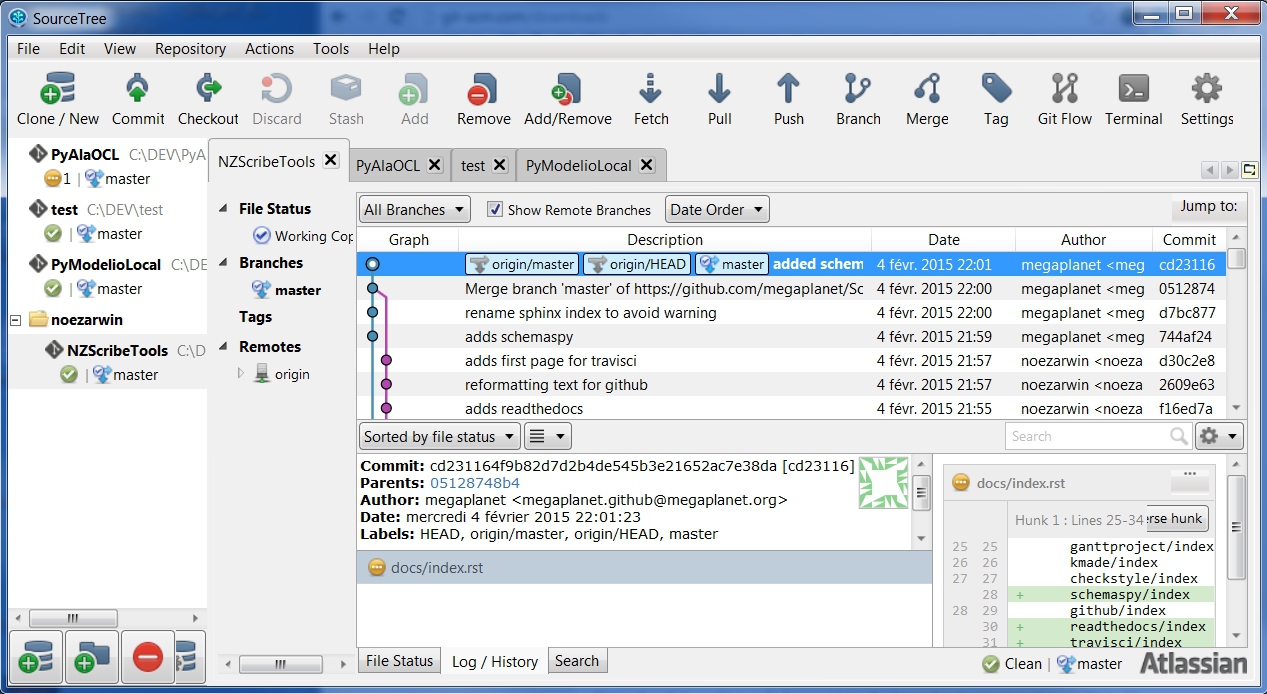
SourceTree at work
Your can download it from the SourceTree home page. It works on windows and mac.
Using the git shell
The github client installed in the previous sessions include not only a graphical interface, but also give you access to a git shell where you can type all commands.
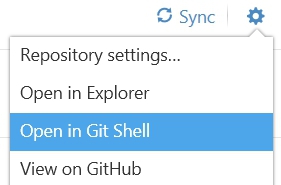
Launching a git shell from the Windows GitHub client
While the GUI is very nice and enough for most situations, sometimes you will need to type git commands that are not available in the GUI. In this case using the git shell is the solution.
Installing the git toolkit
In some situations you will however have to install a git toolkit.
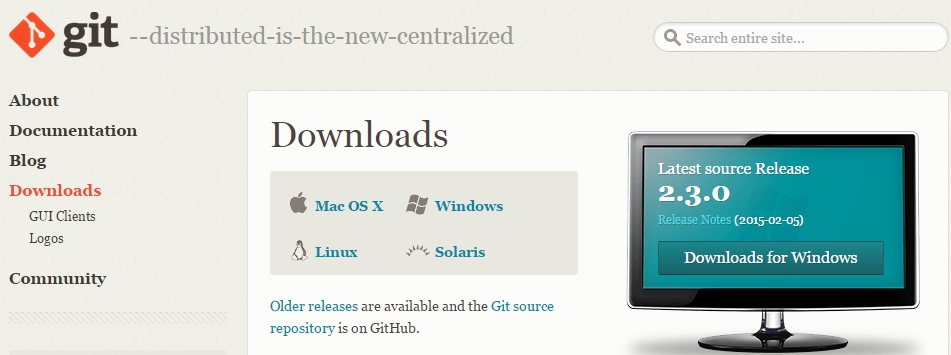
Git web site.
You have to install git:
- if you have not installed the GitHub client at all (either because you do not want or because it is not available on your platform).
- if you want to run some scripts with git commands but you cannot always run them from the GitHub shell (e.g. launching them from a cron tab).
- if you use some programs relying on the availability of git commands (those program will complain that git commands and not available).
In these case you will have to install git (possibly in addition to github client). In order to do so, just download git and install it following the instructions for your platform (e.g. for windows web).
On Ubuntu you can install git as following (if it is not already installed):
sudo add-apt-repository ppa:git-core/ppa -y     # if you want the last version
sudo apt-get update                             # if you want the last version
sudo apt-get install git
git --version
Configuration
If you use the command line, you should configure git. The option --global
save the configuration in your .gitconfig home file. Otherwise you could
configure this for individual project.
Configure who you are (changing escribis by your github account):
git config --global user.name "escribis"
git config --global user.email "escribis@users.noreply.github.com"
To avoid typing always your password (see Caching you Github password):
git config --global credential.helper cache
git config --global credential.helper 'cache --timeout=3600'
You may also configure (Dealing with line endings):
git config --global core.autocrlf input # if you use unix